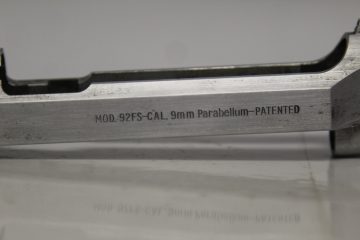
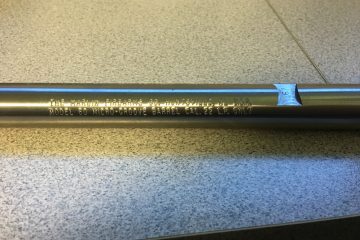
Setting up your 2 sided bar stock marker
Here are the instructions for setting up the machine for production marking.
- Start first by making sure the area is clear the machine has stopped. Press STOP if needed.
- Open the front guard up by pulling on the locking tabs to release them and lift the guard up.
- Open the Bar Feed Guides up wide enough to accommodate the new material being marked
- Insert the new material up to middle roller position.
- Clamp the new material into place by turning the handle left.
- While the bar is clamped into place, adjust the Bar Feed Guides to touch the material and then back off 1/10th of a turn to barely loosen its adjustment.
7. Adjust the Bar Feed Centering to be tight on the bars and again back off 1/10th of a turn
8.Switch the direction into REV and press the start button to reverse the bar out of the machine.
9.After the bar is removed, tighten the marking pressure adjustment 1 more time by rotating it a quarter to half of a turn (Depending on the marking depth desired) to the left.
Now the machine is ready for use, switch the direction back into FWD and close the guard latching it in place
NOTE: Inside of the guarding is a mechanical switch that detects if the guarding is closed or not. When this switch is not activated the machine will not operate in RUN mode, only JOG will function.

